Sunday, April 15, 2012

Filters and Spark Plugs

Good morning, Ed here.

47 days and counting.  It has been quite stormy here in Oklahoma for the past couple of days, so it was a great opportunity to tear into the Wing to replace the filters and spark plugs.  Before we get into that though, I wanted to give you an update on the Dark Side conversion.  All of the parts have arrived (tires, Moly 60 Paste, the dust boot, and dynabeads).  I will be meeting with my new friend to do the conversion next weekend.  As always, I am planning to post some detailed photos.

Let's head out to the garage and change some filters and plugs.

Today we are going to replace the fuel filter, sub filter, cruise filter, air filter, and spark plugs.
We'll start by putting the bike on the center stand, removing the seat, and removing the front and rear side covers.
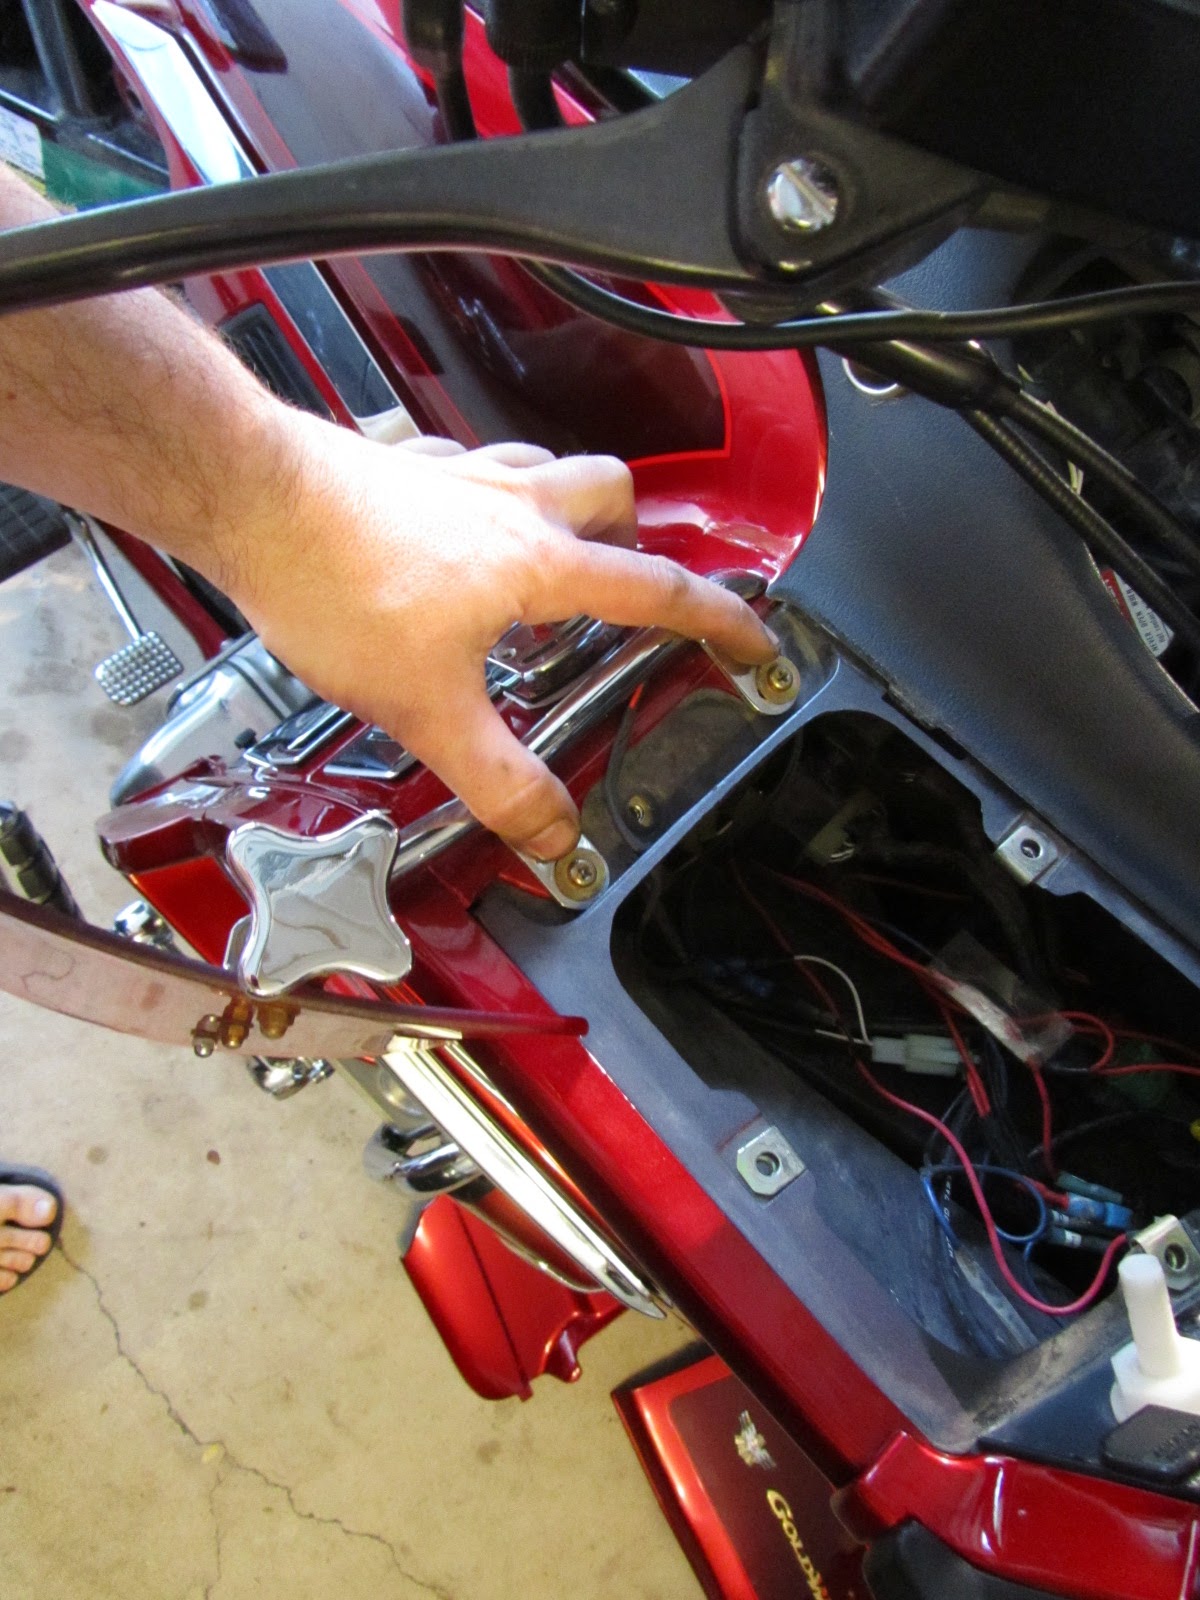
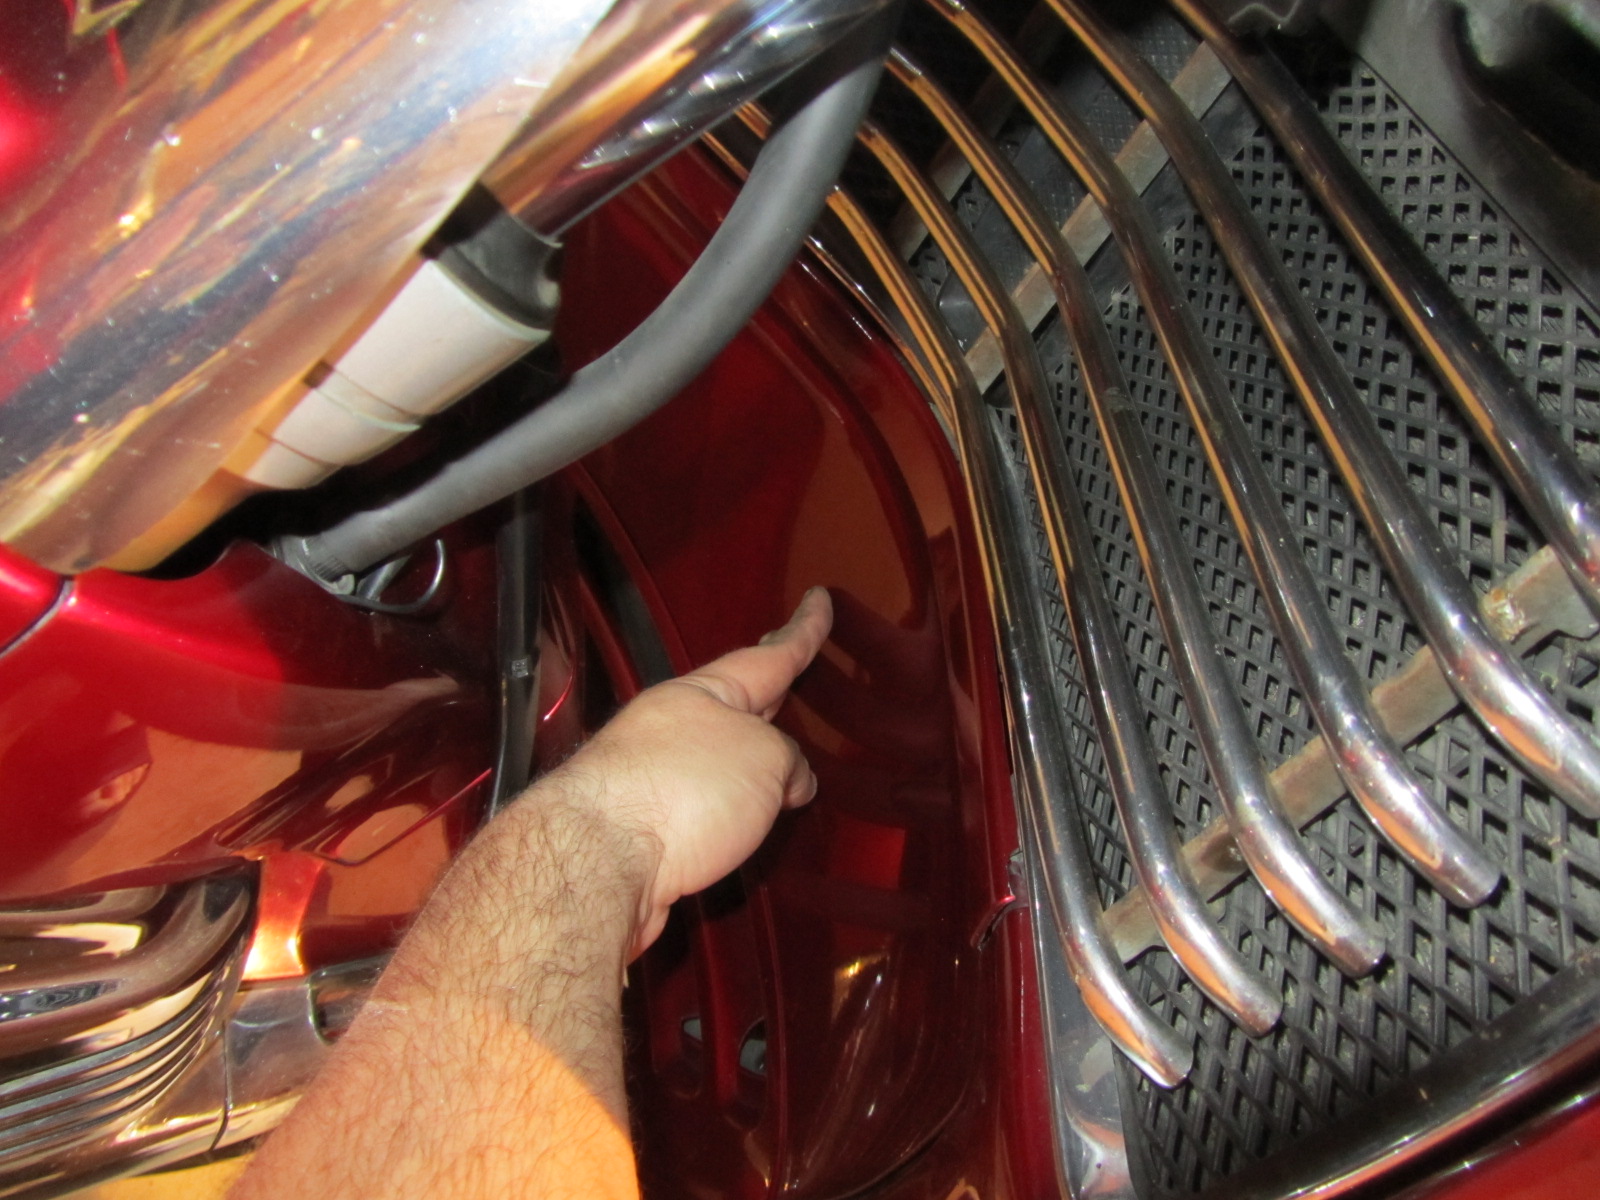
The next part that needs to be removed is the top shelter cover.  Open the gas flap below the radio.  If you look on the sides under the cover, you will see two white tabs (one on each side).  Rotate these tabs so they point towards the gas cap.  My finger is on the tab.  If you look just to the right of my finger you will see the fuel filter.
Rotating the tab.
Here is the tab on the other side.

Next, we will remove the two nuts at the rear of the top shelter.  These nuts are located under the front edge of the seat.  Remove both the right and left nuts.
Next, on the side of the bike, there are two studs (one on the left side of the bike and the other on the right)  that bolt into the frame.  The upper front corners of the rear side covers attach to these studs.  Remove both the right and left studs.
Remove the ignition cover.
Just pull up on the rear of the cover.  At the front, there are tabs that hold it below the dash.  Pull up at the rear to release the cover from the grommets and be careful not to break the tabs off the front as you lift the cover.
Remove these covers.  I do not remember what they are called.  They are held in with tabs and just pull out.
Here is what the left one looks like removed.  Take both the right and left one out.
Remove the left fairing pocket cover.
Now we will remove the left pocket.  The first step is to take the screws out that hold it to the faring.
Now that we have the screws removed, we have to remove the headlight adjustment knob.  There is a small screw that you have to remove to pull the adjustment knob off.  The pocket pulls out but you will have to do some maneuvering to get it out.  We will repeat this process for the removal of the right pocket.
Here is what it looks like with the right pocket removed.  The right pocket is more difficult to remove, it takes a lot more maneuvering to get it out.
Under the pockets, there are two screws that hold the side shelter cover to the fairing.  On my bike, these also hold my air wings to the bike.  Remove these two screws.
Here is the left side off.

And here is the right side.
On both right and left side shelter covers, there is a small trim cover.  It is just above the valve cover.  remove this cover from both sides.
Under these covers, you will find a screw.  Remove the screws from both the right and left side of the bike.
With the screw removed, you can take the deflector off.  Take both the right and left deflectors off.
Remove the upper edge molding from the right and left sides of the bike.
Now we will work on removing the top cover.  Lift it up and at the front of the radio, there are some wiring harnesses that need to be disconnected.  They are under the rubber boot at the front of the radio.
Here is what the harnesses look like, sorry I could not get a photo of them being disconnected (it took two hands to remove them).  Lift the top cover off and set it to the side.
Pull the plastic cover forward on the reverse lever to expose the allen head bolt under it.
Remove the allen head bolt.
Pull the reverse lever off.
Next remove the front lower cover above the cowl.  To remove this piece, push in the center then pull one of the upper corners off the grommets.  Once the first grommet is release, go to the other side of the bike and pull the other upper corner off.  You can then lift the piece off.
Time to turn our attention to the covers over the side marker lamps on the fairing.  Under the caps in this photo are screws.  Remove the screws.  This need to be done on both sides of the bike.
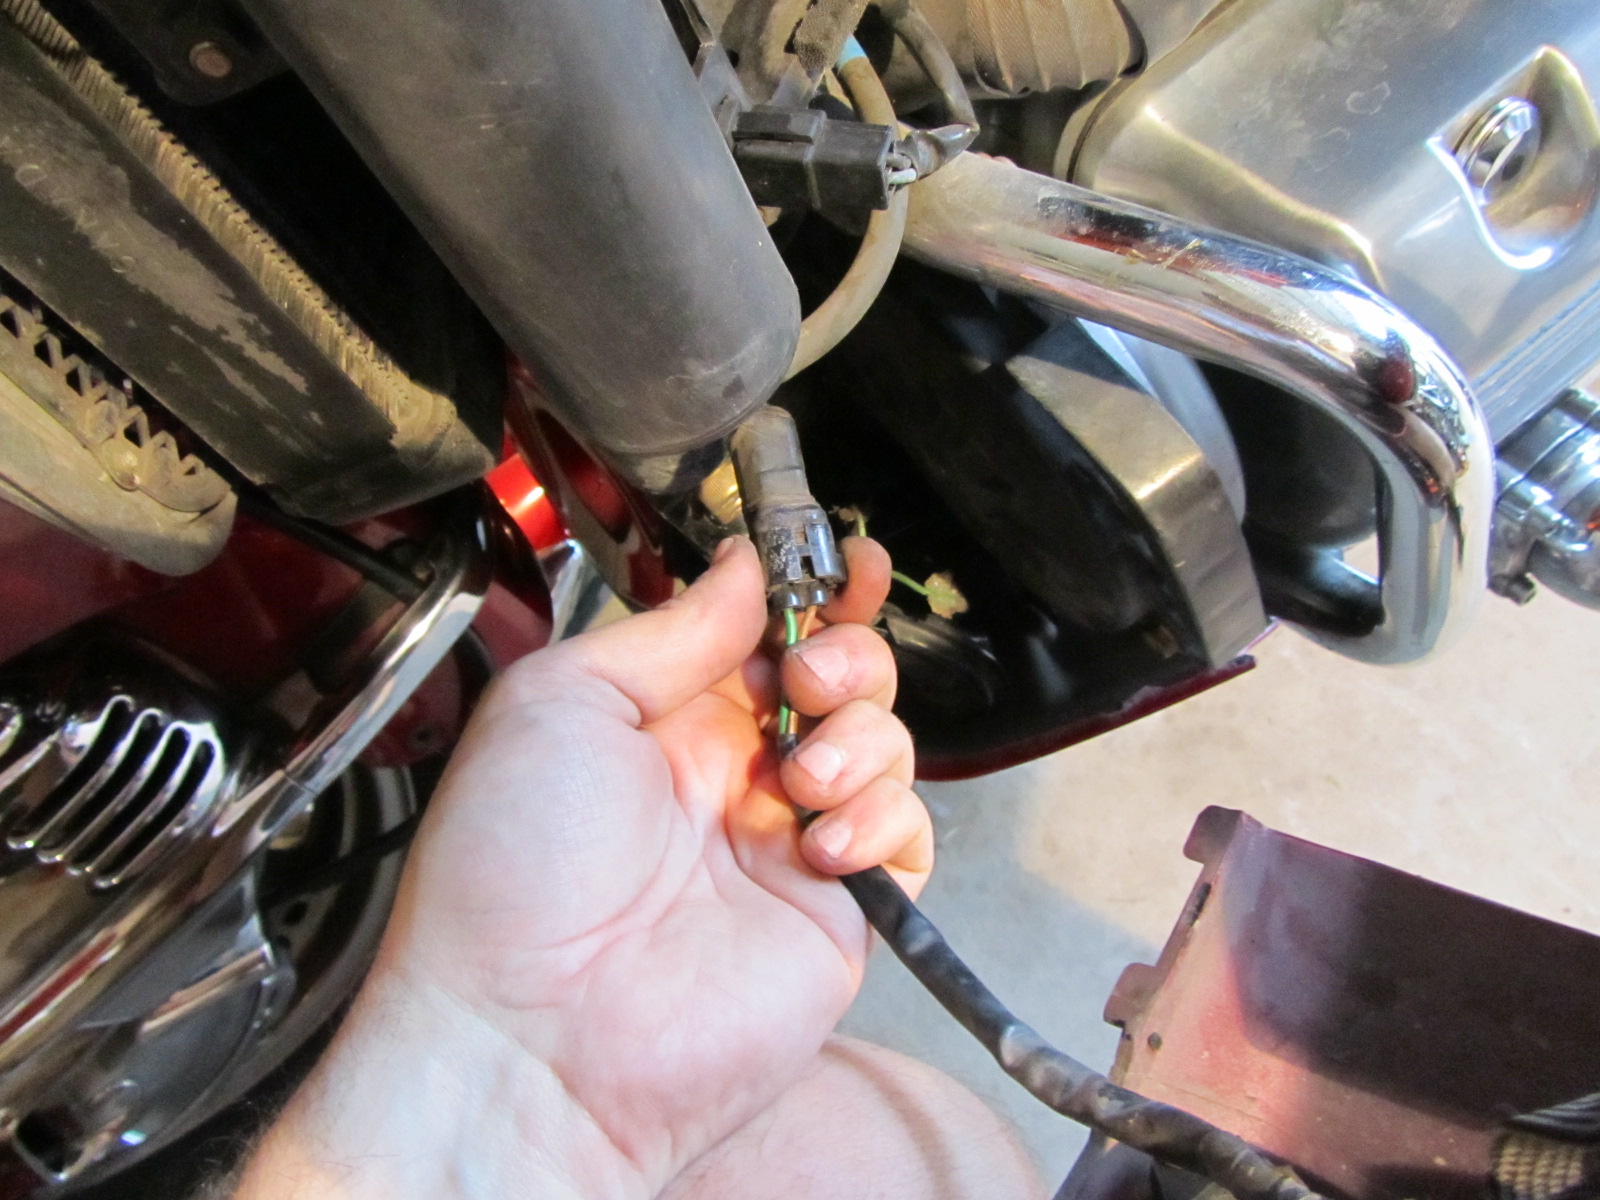
Pull the lower fairing cover out.  You will not be able to pull it all the way off as there is a wiring harness for the cornering lamp (if you have cornering lamps) that needs to be disconnected.
Unhook the harness, then set the lower fairing cover off to the side.
This photos is from the right side of the bike.  Under the lower fairing cover above the valve cover, there is a screw that needs to be removed.  This is the last piece that holds the shelter cover on.
Now you can remove the shelter covers.
Before you can pull the shelter covers off, you will need to disconnect the wiring harness for the air controls (shown in this photo) and the CB (shown in the next photo).
Thanks for the help in getting all of the tupperware off the bike, now let's change the spark plugs. 
I always change my plugs one at a time.  Pull the boot off to expose the plug.
Loosen the plug and remove it.
As you remove your plugs, it is a good idea to look at them.  This can tell you allot about how your bike is running.  Mine look normal.  Here is a link to a site that will show you what to look for when inspecting your plugs.  I chose to go with NGK DPR8EA-9 plugs.  These are the plugs the manual recommends for extended high speed riding.  Before putting the new plugs in, I like to coat the threads with an anti-seize compound.  The replacement plugs do not come pre-gapped so you  will need to set the gap.  The manual calls for a gap of .8-.9mm or .031-.035.  Be careful when putting the plugs back in.  The cylinder head is aluminum and you can easily strip or cross thread the holes.  I really hate screwing new plugs in.  When I was much younger, I had a Honda ATC 50.  One day out of curiosity I pulled the plug out and tried to put it back in, and of course I cross threaded it.  I never told my dad, but now he probably knows as he reads this blog from time to time, sorry Dad :-).
On the left side of the bike just under the air box and to the left of the vent duct, you can see the piece that holds the sub filter.
Unbolt the piece.
Pull the bottom off to expose the sub filter.  Mine is in pretty good shape.  I have seen some that are completely rotted out.  I change mine out every 2 years.  You to not want this filter rotting out as pieces of it can be sucked into the carbs.  This one is about a year old, but I am replacing it anyway due to our trip.
Here is the part number for the sub filter.
Put the new filter in.
Snap the filter housing back together and reinstall it on the bike.  Now let's move to the left side of the bike.
The cruise filter is located here.  Find the gas cap, look to the left of it to find the cruise box.  At the back of the cruise box is the filter housing.
The filter housing pulls off.  You may need to pry on it with a small screw driver to get it off.
The filter fits in the housing.  Just use your finger to poke it out, poke the new one in, then snap the filter housing back into place on the bike.
Here is the part number for the cruise filter.  Now that we have the sub and cruise filters changed out, let's change our focus to the air filter.
At the front of the air box, there is a clip that you need to remove with your finger.
With the clip opened, you will be able to remove the air inlet.  Set it off to the side.
The lid of the air box is secured with screws.  Work your way around the air box lid and remove these screws.
Lift the lid to the air box and change out the filter.  You can then reassemble the air box and inlet.  Now let's move onto the fuel filter.
I normally go with an Emgo filter, but after finding this information on the internet, I decided to go with the NAPA 3003.  This is a much larger filter than the Emgo or stock filter, but it still fits.  You just will not be able to use the rubber band to hold it in place.  Pictures of the size difference can be seen below.
The NAPA filter is on the left with the Emgo on the right.
Slide the clips that hold the fuel lines to the filter down the fuel lines and remove the old filter.  Install the new filter.  Here is what the NAPA 3003 looks like installed.
The final step is to put all the body pieced back on which is the reverse of removal.  Maintaining a Wing is very easy to do once you know how to remove the body pieces.  I hope you enjoyed this post as much as I did.  Be sure to check the site next week to see how to change tires, grease the splines, and change out the drive shaft dust boot.

Have a great week,
Ed

Sunday, April 8, 2012

Changing the fork oil agian and joining The Darkside

There has been a lot of activity here this week. Devon and I finalized our route which we will post about a little later.  I also had someone reach out to me this week for help with changing the fork seals out on his Yamaha Dual Sport.  I met up with him and we had them changed out within about 2 hours (there was quite a bit of talking involved).  I really enjoy helping others out with their motorcycles.  

Based on some feedback I received from my friends on the forums I frequent, I changed the fork oil out again.  It was recommended that I use 15wt oil over the 10wt.  The 10wt will work, and it felt just fine; however, the front suspension of the bike will be getting quite the workout where we are going.  It was suggested we go with the 15wt oil because as the 10wt gets hot as the performance of the anti-dive valve may not be so good.

I have ordered a ton of parts for the bike this week as I am planning to do a major maintenance within the next couple of weeks.  I ordered a drive shaft dust boot as I discovered mine has a tear in it.  I ordered the one for the Honda Valkyrie as it will fit the Goldwing and is mote stout.  This piece sits at the front of the swing arm on the right side of the bike and will be replaced when I grease the splines of the drive shaft.  The  dust boot is part #9 in this image:
For many months, I have been considering doing a Double Darkside conversion to our Wing but have been apprehensive about it because I have not been able to ride a Wing that has been converted.  For those of you who are scratching their head wondering what a Double Darkside conversion is, it is switching the rear tire from a motorcycle tire to a car tire then taking a rear motorcycle tire and putting it on the front rim going backwards.  From my research on line, the car tire provides better traction, a smoother ride, and lasts a lot longer than a motorcycle tire.  The reason for putting a rear tire on the front is simply that they last a lot longer.  You may be asking why the rear tire on the front is run backwards, well the reason to is due to the tread pattern, front tires are made to have stopping grip and rear tires are made to have forward traction grip, so by running it backward it gets the stopping grip rather than the forward traction grip.

Anyway, on Monday I received a message from a member of a forum that I frequent.  He had just completed a Double Darkside conversion on his Wing.  He invited me over to look at his bike so I can see what the set up looked like.  I contacted him and we spoke about the conversion and his experience with it thus far.  We set up a time for us to get together which we did on Thursday.  I was very impressed with this gentleman, he was blessed with a keen mind, an eye for detail, and hard core mechanical abilities.  He had just finished replacing his steering stem bearings and showed me a tool me made out of some scrap metal to tighten the stem nut (this requires a special tool from Honda unless you have the know how to build your own).  He also showed me his beautiful 1976 Goldwing that he restored.  Perhaps when I visit with him again, I can get a photo of it to post to the blog.  You have to see this bike, he did a fantastic job on it.

We had quite a nice visit and discussed the conversion extensively.  He even let me ride his Wing.  I really could not tell any difference in the handling of the bike other than it seemed to track more true and it sat about 1/2 inch higher than normal (the car tire is about an inch taller than the stock motorcycle tire).  At that very moment, I felt the power of the Dark Side and made the decision on the spot.  The only problem was that I do not know how to take the tires off a Goldwing.  I can do this on a KLR 650, but the KLR is an extremely simple machine with everything exposed and a chain rather than a drive shaft.  I asked my new friend if he would be willing to help me with the conversion, the greasing of the drive shaft splines, and the replacement of the dust boot.  Without hesitation, he said yes.  This is why I love the motorcycling community, there are so many folks out there willing to help and share their knowledge. 

As we do the conversion, I will take photos and post the procedures to the blog page.  I ordered the tires on Friday evening as well as Dyna Beads to balance the tires.  You may be asking what tires did I order.  The rear car tire I am gong with is the Austone Taxi Tire.  This tire is a European tire used on, you guessed it, taxis.  It is a 100,000 mile tire with 6 ply side walls and seems to be one of the most popular choices amongst Goldwing 1500 Darksiders.  For the front, the choice is the Michelin Pilot Activ Rear Tire, size 130/70H-18.  Hopefully I will have the tires this week.  Once I have them, I'll get with my new friend to schedule the service.  I can't wait to learn how to change out the tires and grease the splines.

Talk to you next week,
Ed